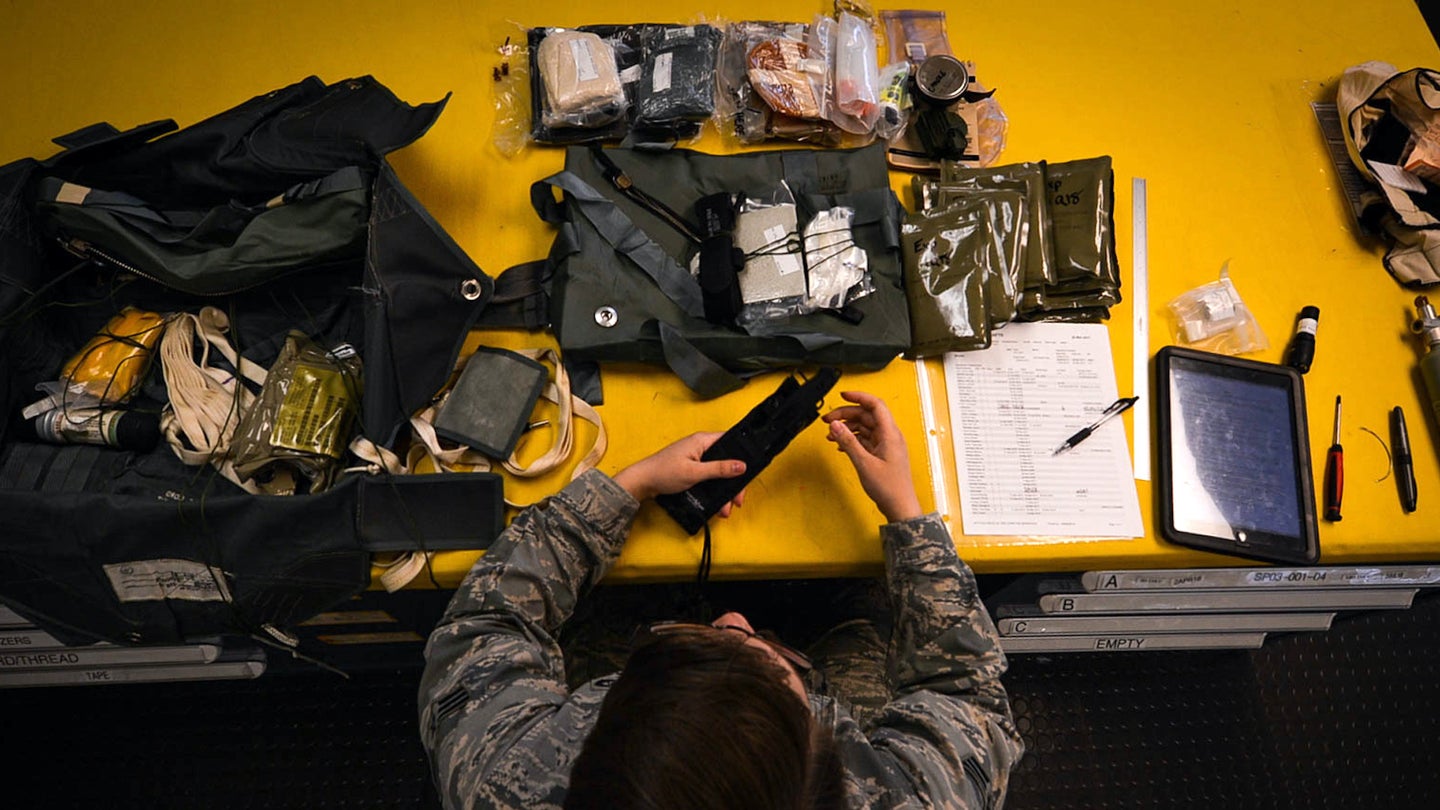
In How to layer your survival kits for a real-world disaster U.S. Air Force Senior Airmen Brittany Cup Choy, discusses five basic survival kits to help you prepare for real world disasters. Read the entire article at Task & Purpose with more pictures.
Zombies, an alien invasion, or any other of your favorite apocalyptic scenarios are often used to spur interest in survival planning because each one forces you to think about being self-reliant. While it’s fun to plan for unrealistic situations, a good layered survival system actually prepares you for known and likely scenarios.
What would you do if your car slid off of an icy road at night in an area without cell service? How would you prepare if your house was built in a wildfire area? Or, will you be ready if you’re unlucky enough to have your house destroyed by a tornado?
If any of those questions apply to you and you don’t have answers, keep reading because we’ve got you covered. In this article, we’ll show you how to create a survival system for real-world disasters. We’ll cover things like layering survival kits, general safety tips and best practices, and overall preparedness.
Why you should trust us
During my 17 years as an Army infantryman, I’ve had to survive in environments with extreme temperatures and severe weather with limited gear for extended periods of time. I’ve also graduated from Survive Evade Resist and Escape (SERE) school, and now I train military advisors. I’ve also applied this training in my everyday life for everything from flat tires to power outages to tornados. Through all of these experiences, I’ve developed a survival mentality in which I understand the importance of a layered survival system. The following information was based on training, experience, rehearsals, and extensive research.
A layered survival system
A layered survival system means preparing a survival kit for the situations you are most likely to encounter. You probably have some kind of layered survival system in place already. Most people have an everyday carry (EDC), a road kit in their vehicle, and a go-bag in their house. But an optimal layered survival system is more than just a bunch of kits adding up to a bunch of stuff. It’s a way of planning and thinking to get the most out of your system, so you end up with gear that you actually need and redundancies you could actually use. In this article, we’ll cover five basic types of survival kits, which will prepare you for most real-world disasters. These include:
- Everyday carry
- Vehicle loadout
- Cache
- Go bag
- Weapons package
In the survival community, we’re guided by a saying: “We live out of our bag, fight out of our kit, and survive out of our pockets.” The point of the saying is to prompt you into thinking about your relationship — both literally and figuratively — with your gear.
In layman’s terms, to “live out of your bag” means that you should pack an actual bag so you and your family can survive for an extended period of time. A good standard is to pack so you’re covering all your needs for 72 hours.
To “fight out of your kit” refers to protection. It’s a kit designed solely to protect you and your family from harm. This kit often consists of a firearm, ammo, and armor, as well as a trauma kit or medical pouch.
Finally, to “survive out of your pockets” means having the necessary gear for survival on your person. This involves developing a proper everyday carry, which is your first and probably most important survival kit because it may be all you have if you cannot access your other kits.
Everyday carry
Your everyday carry, or EDC, refers to the items you carry on a daily basis. They’re different for everyone, and if you’re anything like me, you might add, remove, or upgrade items every once in a while. A full EDC looks something like this:
- Money: Always carry some form of payment like a credit or debit card and cash. While cash is king, you can get away with about $100 of local currency. That should cover basic needs like transportation, information, food, etc.
- Knife: A good folding knife or small fixed blade. Think of it as a tool rather than a weapon. Survival should always be at the forethought of your choices.
- Cordage: A piece of paracord is monumental in making traps, lashing, or repairing things. Five to six feet of cord is more than enough. Braided keychains are very useful.
- Flashlight: A light source always comes in handy whether you need to signal for help or just need to see in the dark. A small penlight is more than sufficient.
- Handgun: If you decide to carry for self-defense, find a pistol or revolver you’re comfortable with using and carrying, which means training and finding the right holster.
- Reload: If you end up carrying a weapon, you should carry a reload as well, like a spare magazine or moon clip.
- Lighter: Always carry a fire-making device. Stormproof matches, butane lighters, etc. If not, a small ferrocerium rod will throw a spark even in the wettest of conditions.
- Jacket: Always take a warm- or wet-weather layer with you (even if you just stash it in the car). Even in the desert, you can become hypothermic. Your clothing is always your first layer of shelter.
- Snack: A protein bar, energy bar, nuts, dried fruits, etc. This could be a mental gain or give you the energy to keep going. At the very least, it could calm the kids while you plan your next move.
- Water bottle: Water is life. The average person needs about two to three liters a day to maintain good health. I recommend a water bottle with a built-in water filter.
If you make everything on this list part of your EDC, you will be able to find a practical solution to almost any small-scale problem you encounter. Now, you might think that it’s a lot of stuff to carry, and you wouldn’t be wrong. If you do decide to carry everything on this list, you might want to consider getting a sling bag or fanny pack.
Vehicle loadout
Your vehicle loadout should prepare you not just for a flat tire or dead battery, but also for what you might encounter or, depending on your location, what you might not encounter (like a gas station). You might have enough gear to get by in most towns or cities, but what if you’re in a rural area and you: get two flat tires; run out of gas; hit a deer; experience an electrical fire: or get stuck on the side of the road on a freezing night? Will you be ready for any of those situations? If the answer is no or maybe, the following lists will ensure you are prepared.
Recovery kit
- Jack with a locking bar
- Full spare tire and wheel package
- Breaker bar or battery-powered impact gun
- Fix-a-flat and/or tire-plug kit
- Portable power station with air compressor and jumper cables
- Wheel chock
- Work gloves
- Warning triangles
- Flares
Spare fuel package
- 2.5- or five-gallon fuel can
- Fire extinguisher
- Vehicle-specific fuel inlet funnel (if applicable)
- Shop towels
First aid kit
- Burn gel or bandages
- Chest seal
- NPA (Nasopharyngeal tube)
- Tourniquet
- Gauze
- Iodine tincture
- Disinfectant wipes
- Assorted band-aids
- Israeli bandage
- Medical shears or seatbelt cutter
- Applicable medications
- Medical tape
- Splint
Sustenance
- Snacks or emergency rations
- One gallon of water
Shelter
- Extra set of clothing
- Cold-weather jacket
- Camp hammock or tent
- Tarp
Miscellaneous
- Road atlas
- Traction mats
- Shovel
- Toilet paper and baby wipes
- 3.5 pounds of baking soda (for fuel spills, battery explosions, and brushing your teeth)
NOTE: Before you go loading your vehicle with everything on this list, you should know that some of the items (like gasoline) can be extremely dangerous to store inside your vehicle. They can be even more dangerous if you’re in an accident. Therefore, you should take proper precautions and comply with state and local ordinances regarding such issues.
An emergency cushion
Preparing a cache of emergency supplies is just good practice. It doesn’t matter if you stick it in a hole in your backyard, inside an old storage unit, or in a safety deposit box at the bank — an emergency cushion will help if you’re in a jam. You might be wondering what kind of jam am I in? In pop culture, such things are used when a character decides to go on the lam. Instead, think of a small disaster like a house fire or tornado. Those sorts of things can take a while to sort out, so for an emergency cushion, you’ll want:
- Money: $500 to $1,000 as a general rule. Certainly, enough to get you into a hotel and feed the family until you can figure out the next step.
- You also might want to store items of value for bartering
- Copies of keys, if applicable, for storage units, friend/family home, transportation, etc.
- Personal documents like insurance information, licenses, medical information, etc.
- Communication tools like a prepaid cell phone, or a satellite phone with a plan, which is useful if in an area where fires or weather can damage cell towers.
Go bag
Although there’s a lot of overlap, a go bag is very similar to a bug out bag. One is meant for a temporary evacuation of your residence while the other is meant for a long journey. While the difference between the two might be semantics, it’s important to understand the differences before you pack it.
For this article, we’re focusing on go bags. It’s something you stow by your front door or inside your car and fill with essentials meant to get you to a temporary shelter or back home. The packing list might be similar to a day hike. They include:
Shelter
- Poncho
- Poncho liner
- 25-foot cordage
Fire
- Ferro rod
- Stormproof matches
- Lighter
- Cotton balls soaked in Vaseline
Water
- Bottle filtration system
- Iodine tablets
- Water bottle
Food
- Emergency food rations
- 10-foot snare wire
- 50-foot fishing line 16 pounds test
- Small to medium fishing hooks
Medical
- Burn gel or bandages
- Suter kit
- Tourniquet
- Israeli bandage
- Medical tape
- Band-aids
- Quick-clot gauze
- Alcohol wipes
- Personal hygiene items
Navigation
- Compass
- Local map
Tools
- Folding saw
- Settlers tool
- Multitool
- Fixed-blade knife
- Canteen cup
- Headlamp
- Hatchet
Miscellaneous
- Electrical tape
- Zip ties
- Sewing kit
- Batteries
By now, you have probably noticed some overlap between the go-bag and vehicle loadout. It’s true, there are some, but the reason for the redundancies is if one system fails for whatever reason — lost go-bag or missing car — you have the backup. It’s another layer in your layered survival kit.
Weapons package
A weapons package should be designed to prepare you for the worst-case scenario. Think about a natural disaster that disables critical infrastructure and outpaces government resources. A good example is Hurricane Katrina in 2005. Many all over the Gulf Coast were left stranded without electricity, running water, or protection by local authorities. And since then, multiple states have loosened carry laws during a state of emergency. With that being said, a weapons package in this setting is intended for protection and defense (rather than offense). A weapons package typically consists of three weapon systems: an emergency EDC, a backup, and a main gun.
Emergency EDC
- Sub-compact to full-sized handgun (tailored to attire)
- IWB holster
- Extra mag/speedloader/shells
Backup
- Compact to full-size handgun
- Gun belt with holsters and a survival knife
- 2x magazine pouch or more, plus ammo for the main gun
- Small medical pouch (built for hemorrhage/gunshot wounds)
Main gun (trunk gun)
- Long gun
- Fighting load carrier or plate carrier
- Extra magazines or shells (no more than 3x magazines/35 shot shells)
Additionally, whenever you’re handling weapons, you should practice proper gun safety and comply with all local, state, and federal laws… (continues)

