Ashley Adamant at Practical Self Reliance has another well written and highly useful article with How to Make an Herbal Tincture. As usual, more pictures and instruction through link.
Herbal tinctures are extracts made from medicinal plants, mushrooms, or lichen. Whether made with alcohol or glycerite, homemade tinctures are a shelf-stable way to preserve the medicinal benefits of herbs for year-round use. They’re an easy way to always have natural medicine on hand at a moment’s notice.

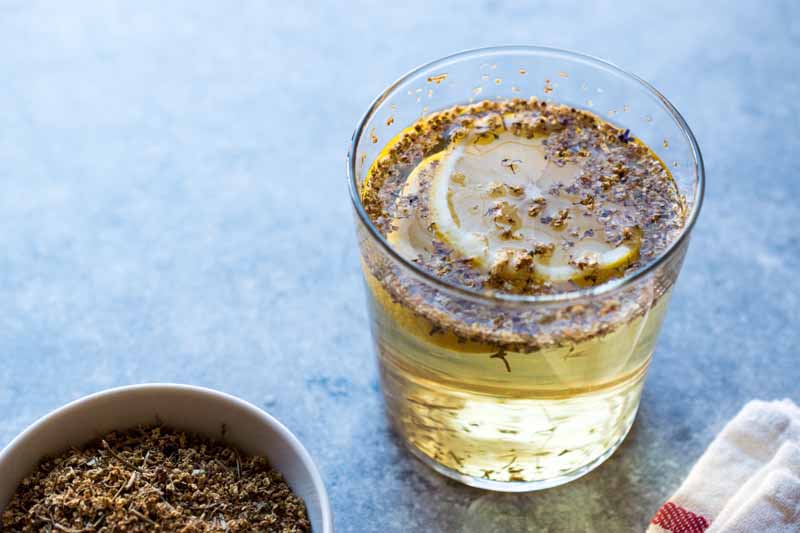
Homemade Yarrow Tincture (Alcohol extract of yarrow)
Making your own herbal tinctures is a deeply satisfying feeling, and once made, it’s incredibly comforting to know that you have shelf-stable herbal medicine ready whenever it’s needed.
Essentially, you’re distilling all of the therapeutic properties of any given plant material into a super-concentrated, super-powerful elixir that can be taken for any number of health concerns. Depending on the tincture in question, the benefits range from preventative to immune-boosting to sleep-inducing — all in a dropperful of herbal extract!
What you might not realize about tinctures is how easy they are to make. All you need to get started is your desired plant material, a solvent, and a solid 6 to 8 weeks for the extraction process to complete itself.
What is a Tincture?
A tincture is a concentrated herbal extract prepared with alcohol, a solvent that extracts the active medicinal compounds from alcohol-soluble plant matter. Tinctures are a means to ingest super-condensed herbal extracts for their medicinal properties.
The use of tinctures isn’t a new activity, people from all over the world have been making tinctures for thousands of years.
Today, the tincture market is rich with options. You could purchase a tincture for every ailment you can think of, but the prices are often high — especially when you’re buying multiple tinctures at once. Usually, tinctures are around $12 to 15 an ounce, but the same medicine can be made for pennies on the dollar.
When you make your own tinctures at home you can choose the best quality ingredients to make a potent tincture, all at a fraction of the price of a store-bought version.
Homemade tinctures are made with minimal equipment, using the leaves, flowers, roots, bark, and flowers of fresh or dried herbs and mushrooms as plant material.
Tincture vs. Herbal Extract
You might notice the term “herbal extract” is sometimes used interchangeably with the word “tincture” when you’re reading up on the topic, but there is a difference between the two classifications.
A tincture is prepared using alcohol as a solvent to extract the desired compounds from plant material. Glycerite tinctures use vegetable glycerin as a solvent, and are generally considered part of the tincture family.
An herbal extract is an umbrella term that refers to plant material extracts made with various types of solvents including, but not limited to, alcohol, oil, honey, and vinegar.
How are Tinctures Used?
Depending on the particular extract you’re using, tinctures are taken orally or applied externally. Tinctures are dosed by the dropperful, and are often dropped directly under the tongue, where they’re absorbed into the bloodstream more quickly.
Different types of tinctures have different recommended dosages and means of ingestion. Bitter tinctures, which are taken to stimulate the appetite and relieve signs of digestive distress, are typically ingested 15 minutes before eating.
Some tinctures, like those made from lemon balm and motherwort, tend to be fast-acting, and are of the soothing variety.
Tinctures mades from adaptogenic and immune-boosting herbs and mushrooms, such as ginseng root or reishi mushrooms, must be taken continuously over a period of several weeks before their therapeutic benefits are apparent.
Not all tinctures are meant to be taken orally. Tinctures prepared with black walnut and yarrow are, among others, applied directly to the skin or mixed in with a carrier oil or basic lotion.
Topically-applied tinctures are used to treat everything from parasitic infection to eczema, and certain types can even be mixed in with misting sprays or face cream to add powerful herbal benefits (and at a fraction of the cost of commercially-made, herb extract-enriched beauty products).
Types of Tinctures
By definition, alcohol-based tinctures are the only “true” tincture, although some resources are laxer about this than others. Glycerine based or Alcohol-free “tinctures” aren’t technically tinctures, but they’re often referred to by this name since they’re pretty much equivalent in terms of how they’re used. (Technically, they’re glycerites.)
Some plant materials, such as dried mushrooms, contain high amounts of both alcohol-soluble and water-soluble compounds. When this is the case, the double extraction method is the way to go. It’s an additional step, but an easy one, and you’ll find that the result is definitely worth the (very minimal) extra time it takes.
If you prefer an alcohol-free extract, you can also make a potent glycerite tincture using vegetable glycerin — the method is almost exactly the same as a tincture with alcohol, which I’ll walk you through below.
Are Tinctures Shelf Stable?
Because tinctures are prepared with ethyl alcohol they have a naturally long shelf life. Alcohol drastically slows down natural decomposition and the growth of bacteria, so if properly stored a tincture can last for a couple of years (even longer if the alcohol is 100-proof or higher).
Never use isopropyl alcohol (rubbing alcohol), it’s toxic to ingest and therefore not suitable for making tinctures — although it can be used to make herbal liniments for external use.
All of my tinctures are made using vodka. I like to use Smirnoff because it’s relatively inexpensive, but not so cheap that it’s completely unpalatable.
Some people prefer to make their tinctures with brandy or rum — pretty much any high-test alcohol can be used. Make sure you choose alcohol that’s at least 80-proof (40 percent) for making tinctures or, if you can find it, 100-proof (50 percent) or higher to ensure safe preservation.
Once the tincture is ready to be decanted, I carefully transfer the extract to a dark amber glass bottle with a dropper and store it in a darkened location away from any light or heat sources — no need for refrigeration.
If stored with care, tinctures will maintain their potency for 2 to 3 years (with some higher alcohol preparations lasting up to 5 years). The Herbal Academy has an excellent guide to the shelf life of herbal preparations, which has much more specific and detailed estimates, depending on how the tincture is prepared.
How to Make a Tincture
The first step when preparing a homemade tincture is to select your plant material.
One question I see regularly is in regards to using fresh or dried herbs, and if one is better than the other. The answer I would give is: there are advantages to choosing either medium!
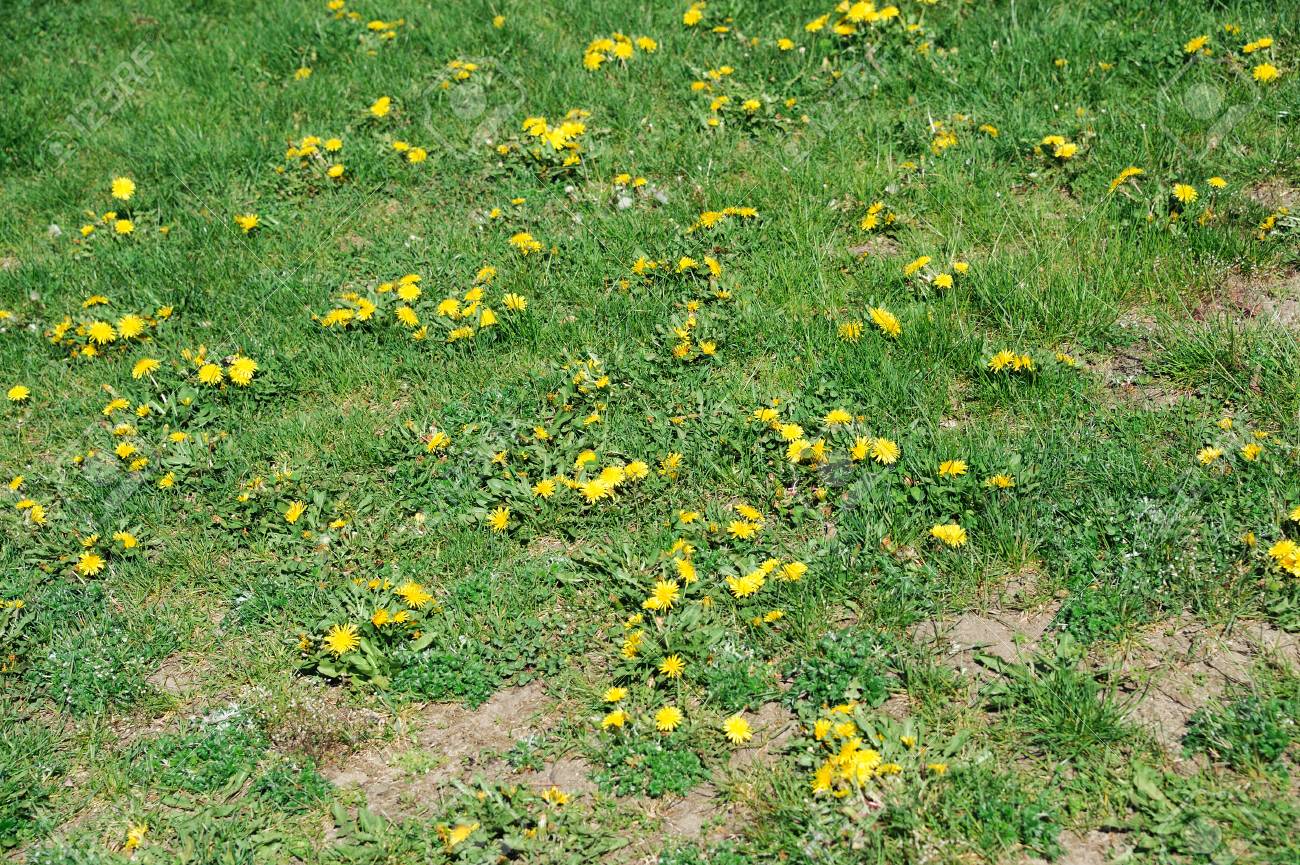
Depending on where you live, fresh herbs can be found growing wild or in your garden, which makes them readily available. Fresh herbs have a high water content, which means they’re susceptible to spoilage if they aren’t used immediately after being picked. If you’re fortunate enough to have a surplus of fresh herbs, I would recommend drying them for later projects using this guide to preserving herbs.
If you’re making a tincture from dried herbs, you can use herbs you’ve dried yourself or you can buy the best-quality dried herbs. Dried herbs have a maximum shelf life of 2 years, if you aren’t drying the herbs yourself it’s important to find a source with rapid product turnover.
The main mechanism behind tincture-making is the same: put plant material in a jar, cover with alcohol, and let steep for several weeks. However, a little bit of finesse with herb to alcohol ratios will result in the most potent of tinctures.
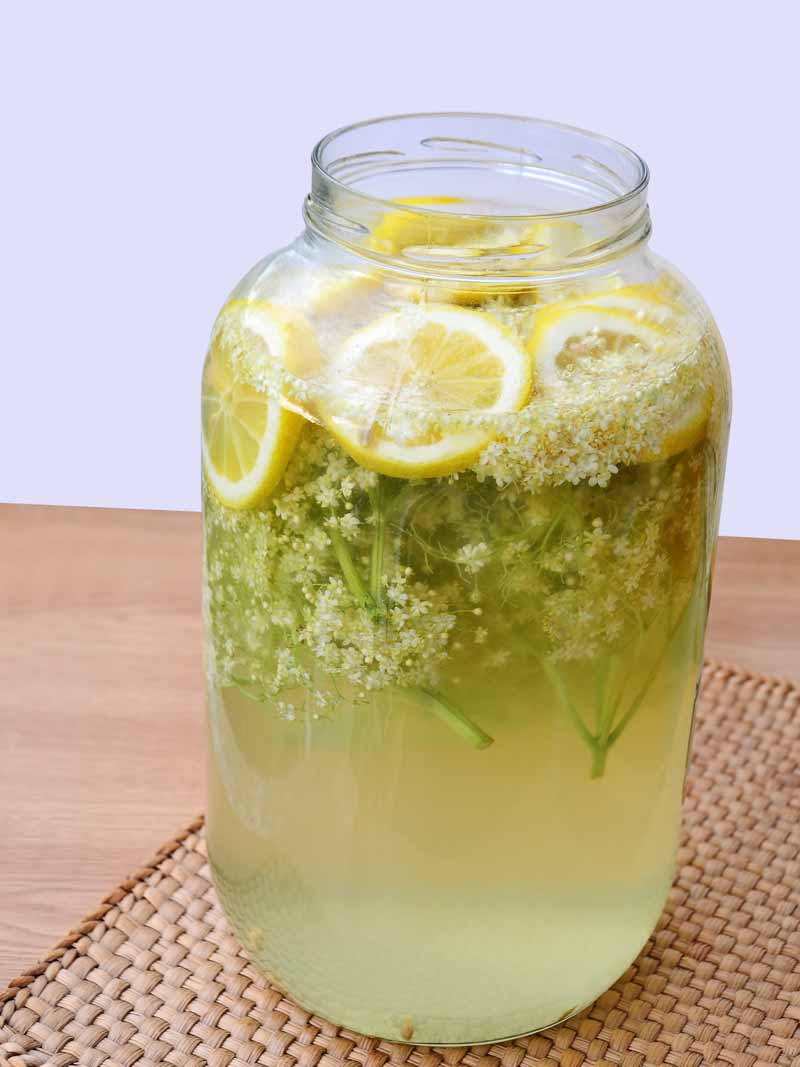
For a tincture made with fresh leaves and flowers, finely chop or grind clean plant material (the goal is to expose as much surface area as possible). Fill a jar about 3/4 of the way with chopped leaves and flowers — don’t pack the jar too tightly.
Cover the contents of the jar completely with alcohol and seal with a lid.

Making chickweed tincture with fresh chickweed
If you’re preparing a tincture using dried leaves and flowers, you’ll want to fill a jar about 1/2 of the way full with dried plant material. Dried herbs are more concentrated, and they absorb liquid and expand during the extraction process. If you fill the jar completely full, your yield will be pitifully small (but intensely concentrated).
Cover the contents of the jar completely with alcohol and seal with a lid.
To make a tincture with either fresh or dried bark, berries, and/or roots, finely chop or grind the plant material to expose optimal surface area or to release the juice of berries. Roots and bark are especially hard to extract, so increasing surface area is important.
Fill the jar 1/3 to 1/2 full with chopped bark, berries, and roots. These materials tend to be even more concentrated and expand further than dried flowers or leaves.
Cover the contents of the jar completely with alcohol and seal with a lid.
I always use a standard canning jar, but I use a plastic mason jar lid when making tinctures. There are certain tinctures that will, over time, eat through plastic.
Most tinctures need to sit for a period of 6 to 8 weeks before they can be used, during this time the alcohol extracts beneficial alcohol-soluble compounds found in the plant material.
Store developing tinctures in a cool, dry place away from light. Give them a good shake every couple of days, keeping an eye on alcohol levels. If at any point it appears the alcohol level is getting lower, add more to the jar to completely cover the plant material to prevent unwanted mold growth.
When you’re ready to bottle your tincture, it will need to be strained first. The easiest way to do this is to line a funnel with a cheesecloth, placing the tip of the funnel directly into a dark amber glass bottle.
I often skip the cheesecloth and just use a fine mesh strainer, which is usually fine enough for most tinctures. If you’re making a tincture with particularly fine material, like pine pollen tincture, definitely go with cheesecloth.
How to Make A Tincture without Alcohol
If you’re abstaining from alcohol for any reason you can still make a tincture using a different menstruum. A menstruum is a term that refers to the solvent chosen for making extracts.
Food Grade Vegetable Glycerine has been used as a solvent to make tinctures called glycerites for close to 200 years. It has a syrupy texture and sweet flavor, making it an excellent choice for tinctures that will be ingested by children.
Most recipes for glycerite tinctures are made with 75 percent vegetable glycerin and 25 percent water, resulting in an herbal extract with a shelf life of 14 to 24 months.
You can also use vinegar as a menstruum when preparing an herbal extract — I like to use apple cider vinegar as a solvent because it has the best taste, but almost any kind of vinegar will work. As long as the tincture is made with no less than 5 percent vinegar, it’s generally shelf-stable for a minimum of 6 months (usually longer).
Like alcohol-based solutions, tinctures made with glycerine or vinegar are made by soaking herbs or mushrooms in the menstruum for several weeks to extract therapeutic and medicinal properties.
Common Herbal Tinctures
Tinctures can be made from most types of medicinal plants or mushrooms, but the specific benefits of each herbal extract will depend on the specific herbs used. Here are a few of the most common types of homemade herbal tinctures, along with their benefits:
Black Walnut Tincture
If you have black walnuts to harvest, a homemade black walnut tincture is a great way to use those otherwise inedible walnut husks that would normally be discarded. Black walnut tinctures are applied topically and are prized for their anti-fungal and anti-parasitic properties thanks to a natural abundance of tannins.
Tinctures made from black walnut husks are a rare source of land-based iodine, making them a good tincture to have on hand for disinfecting wounds and irritated skin.
My post about the benefits of black walnut tincture provides all the instructions you need to make your own potent tincture…